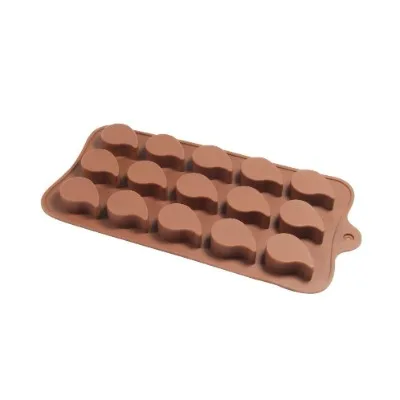
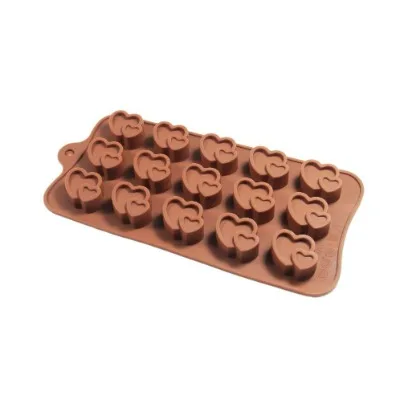
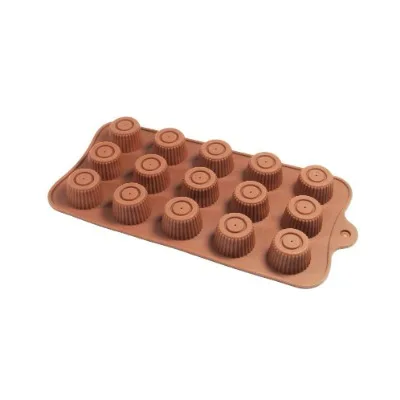
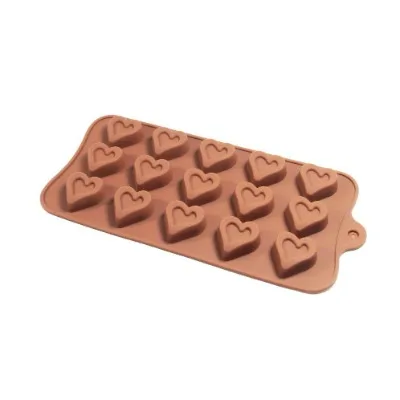
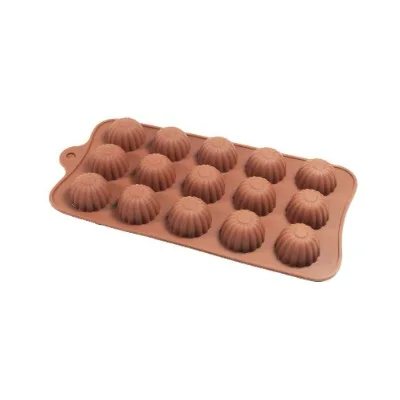
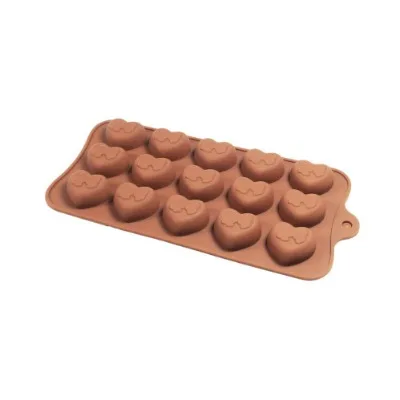
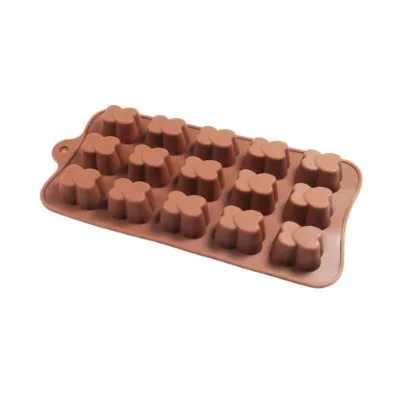
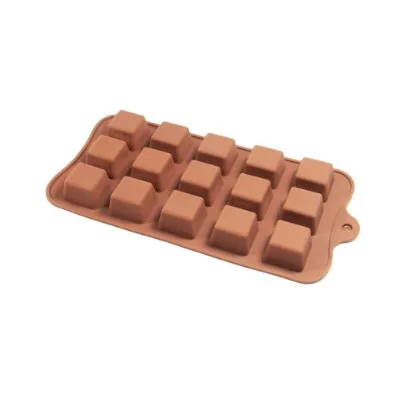
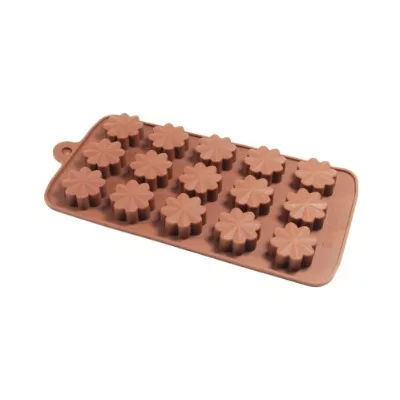
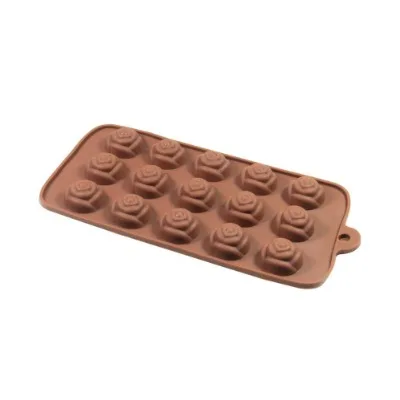
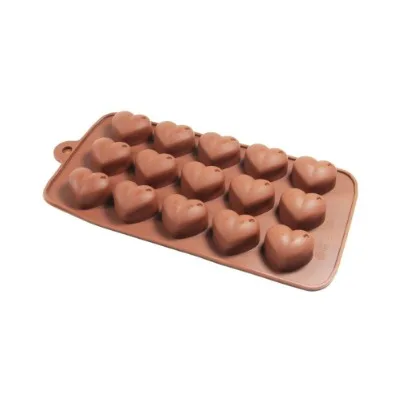
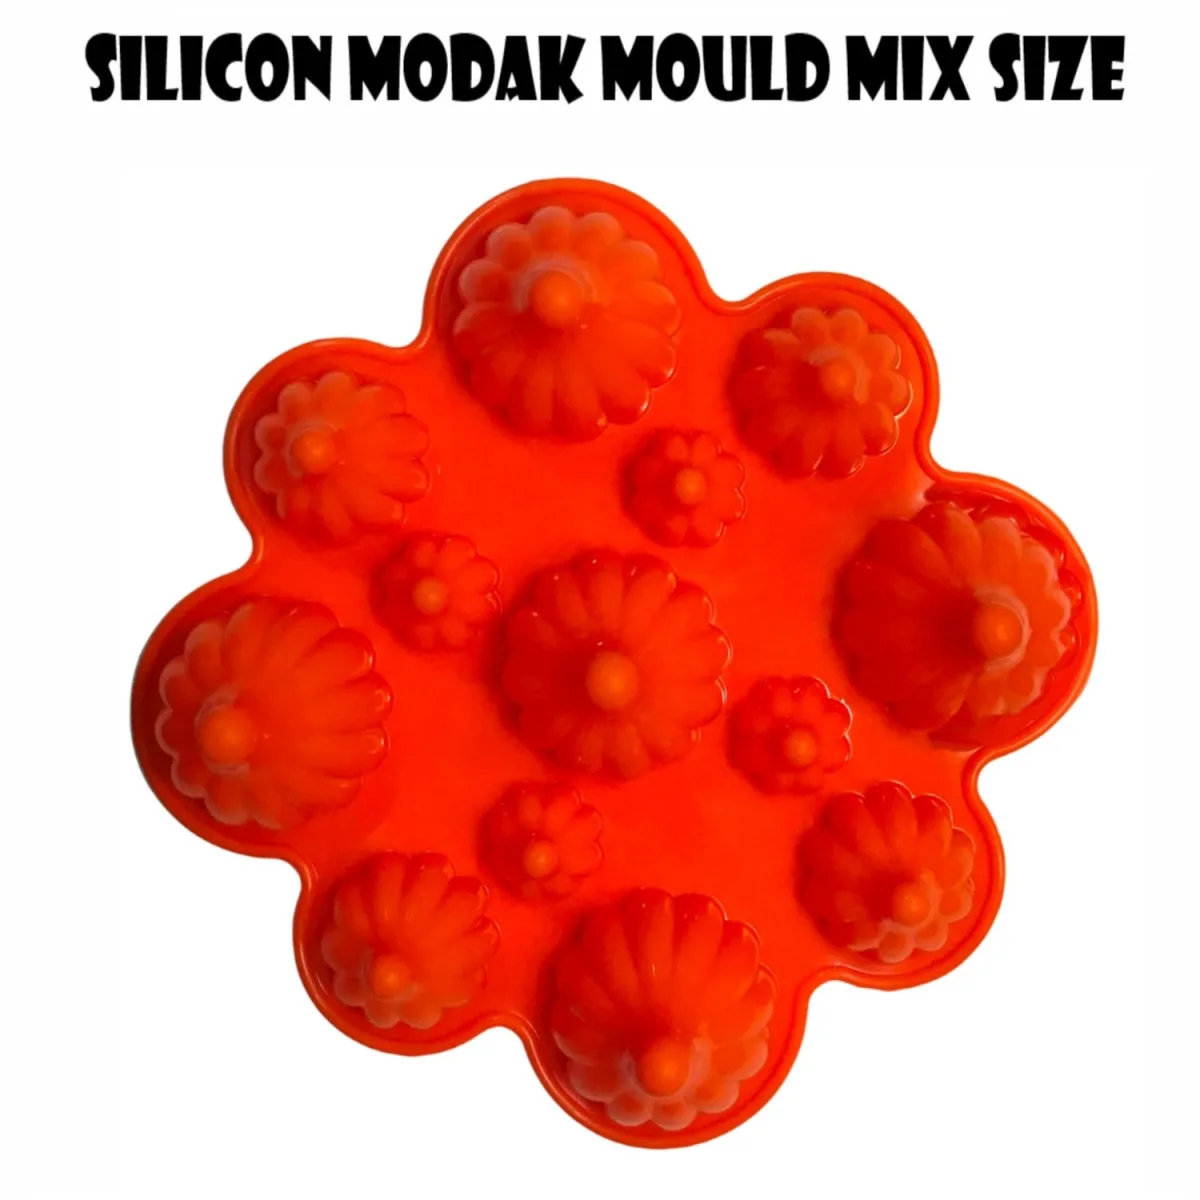
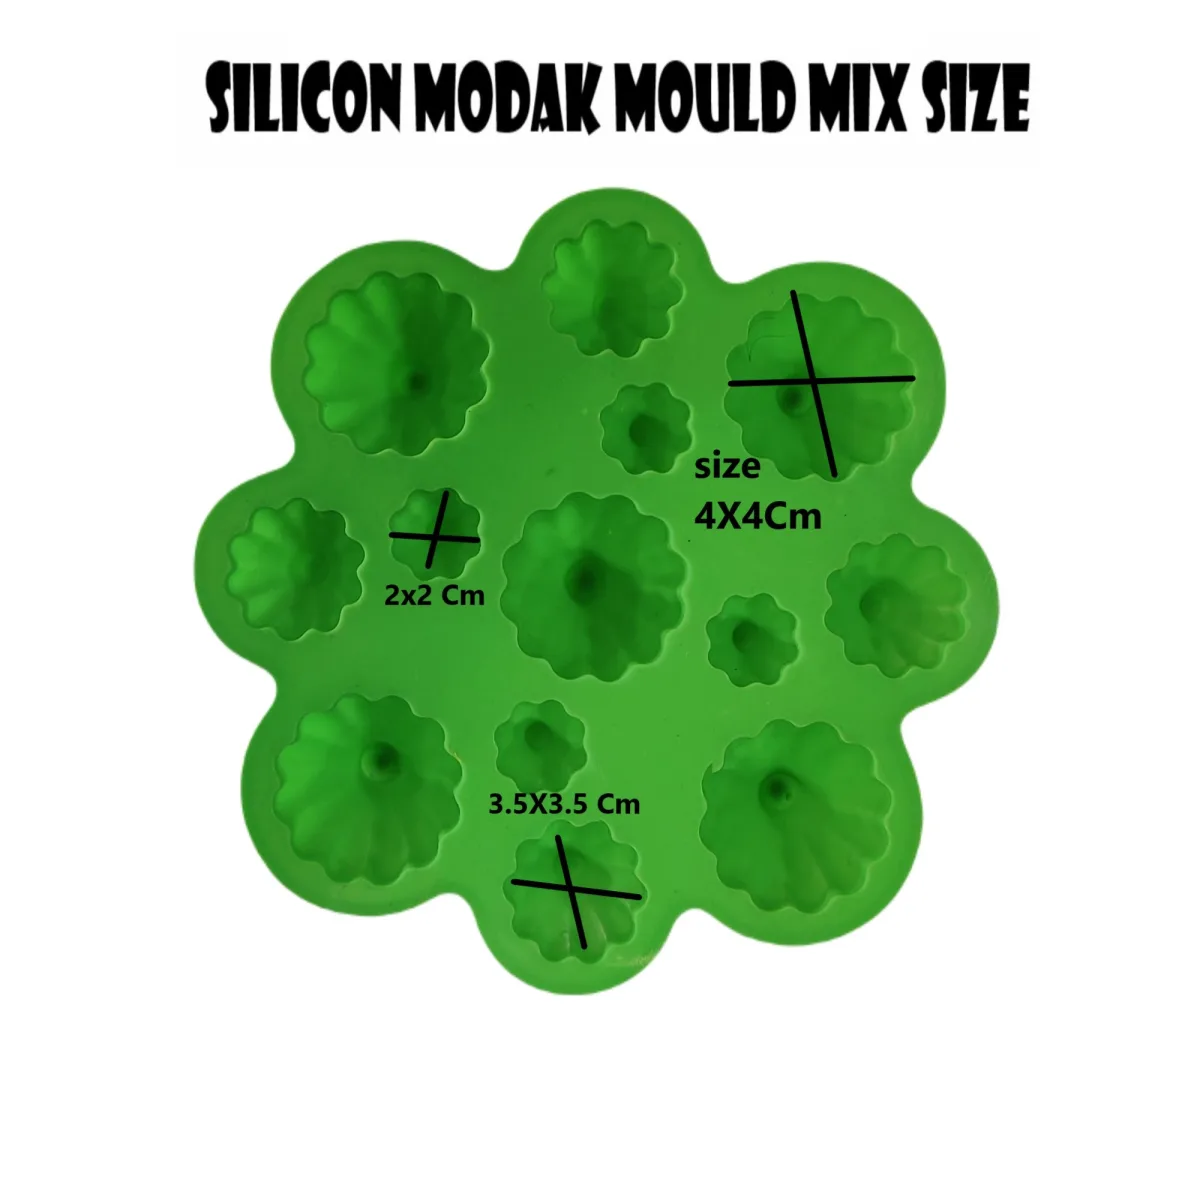
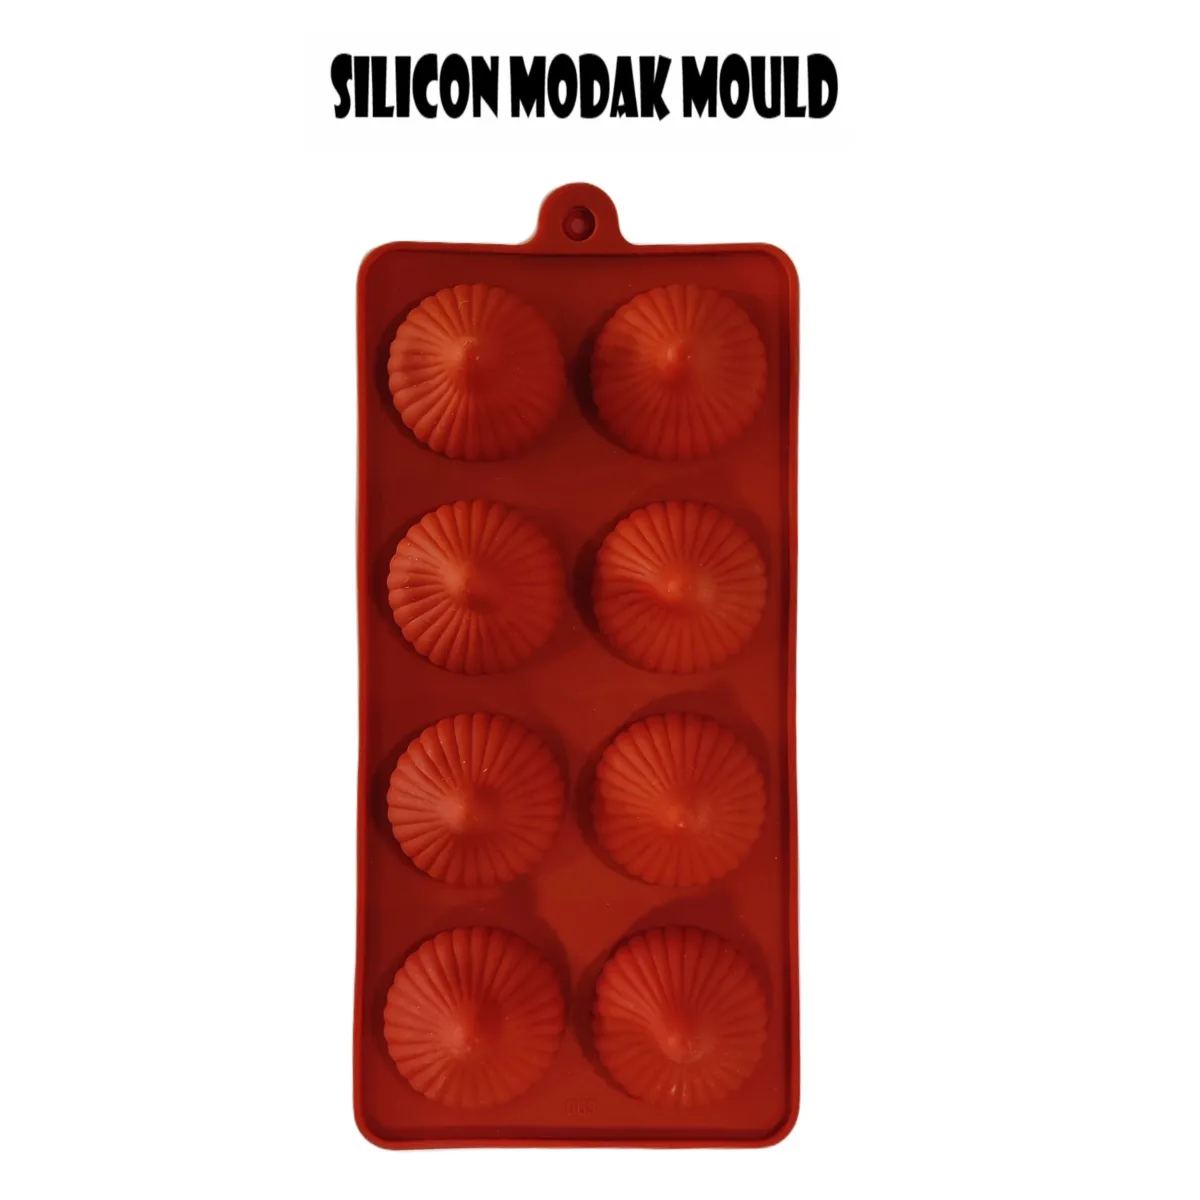
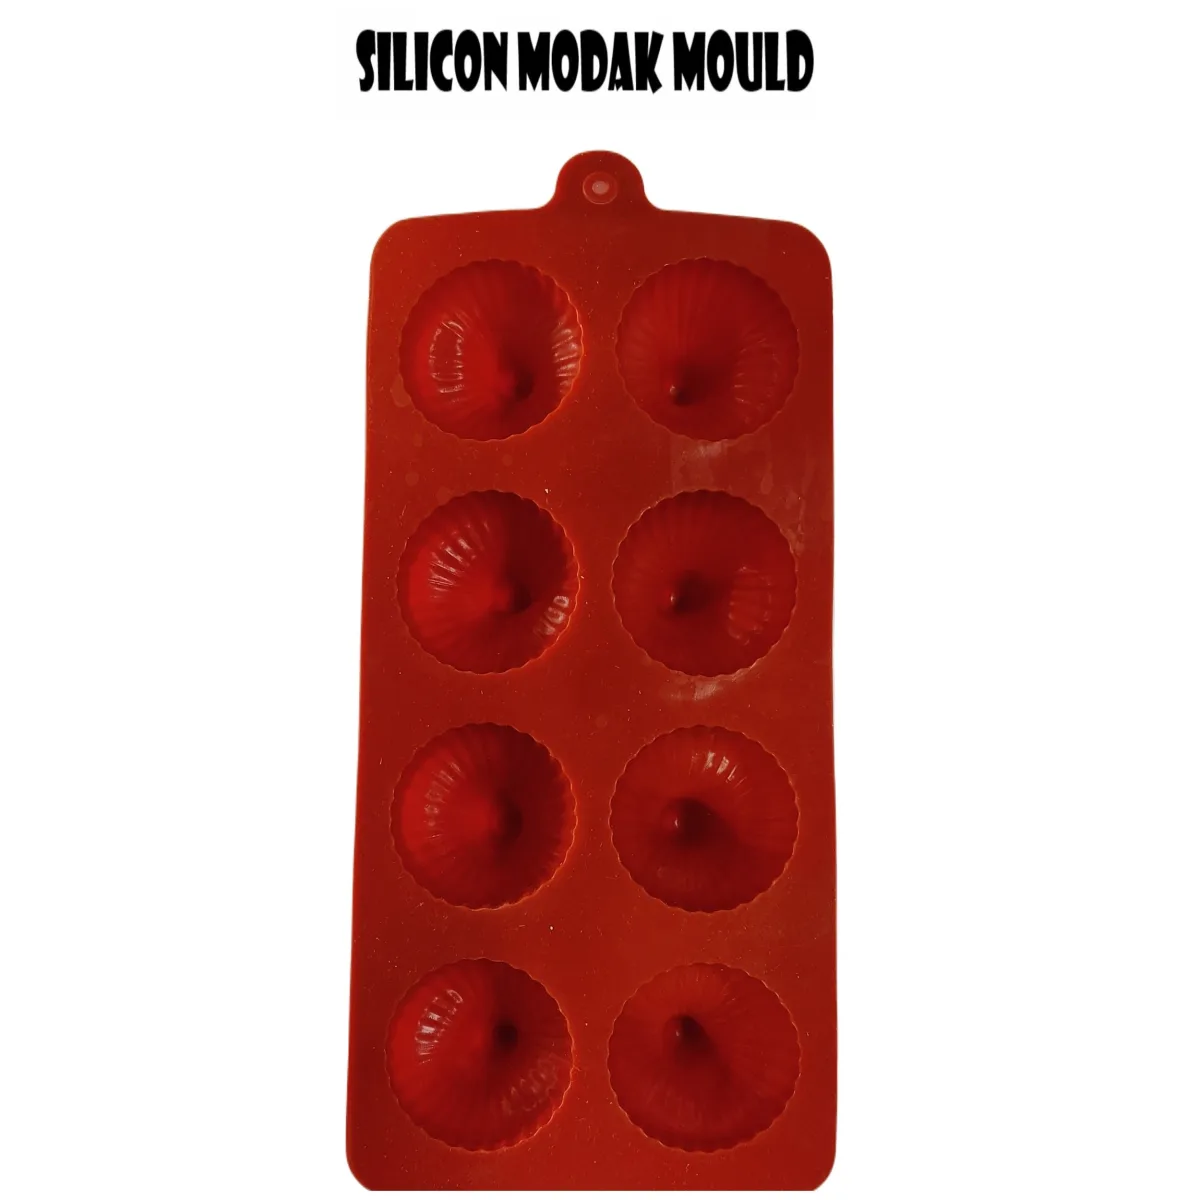
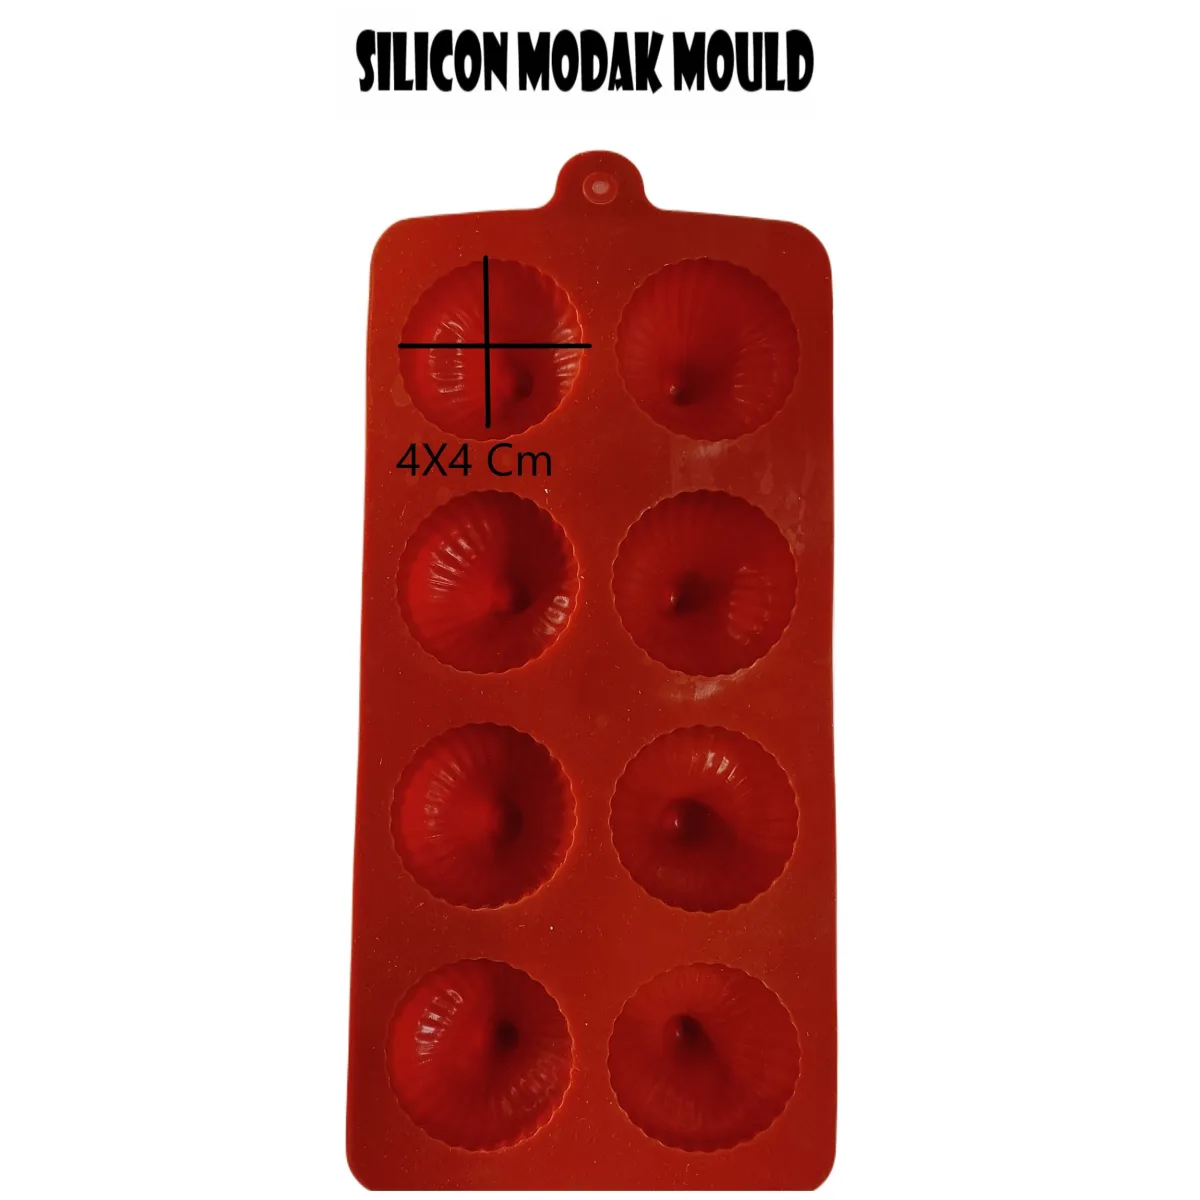
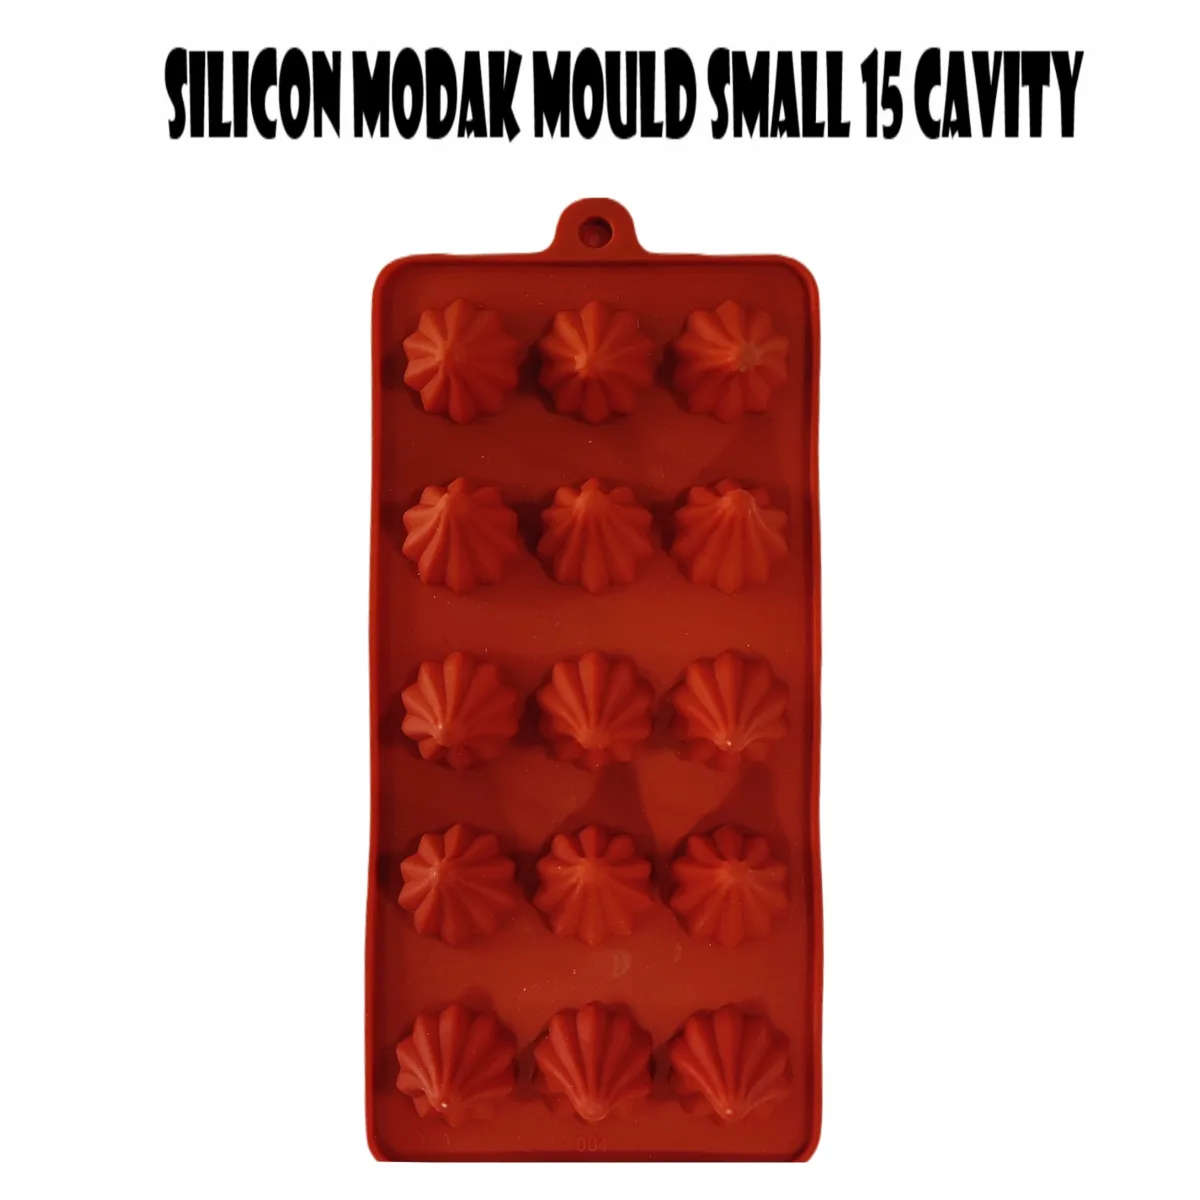
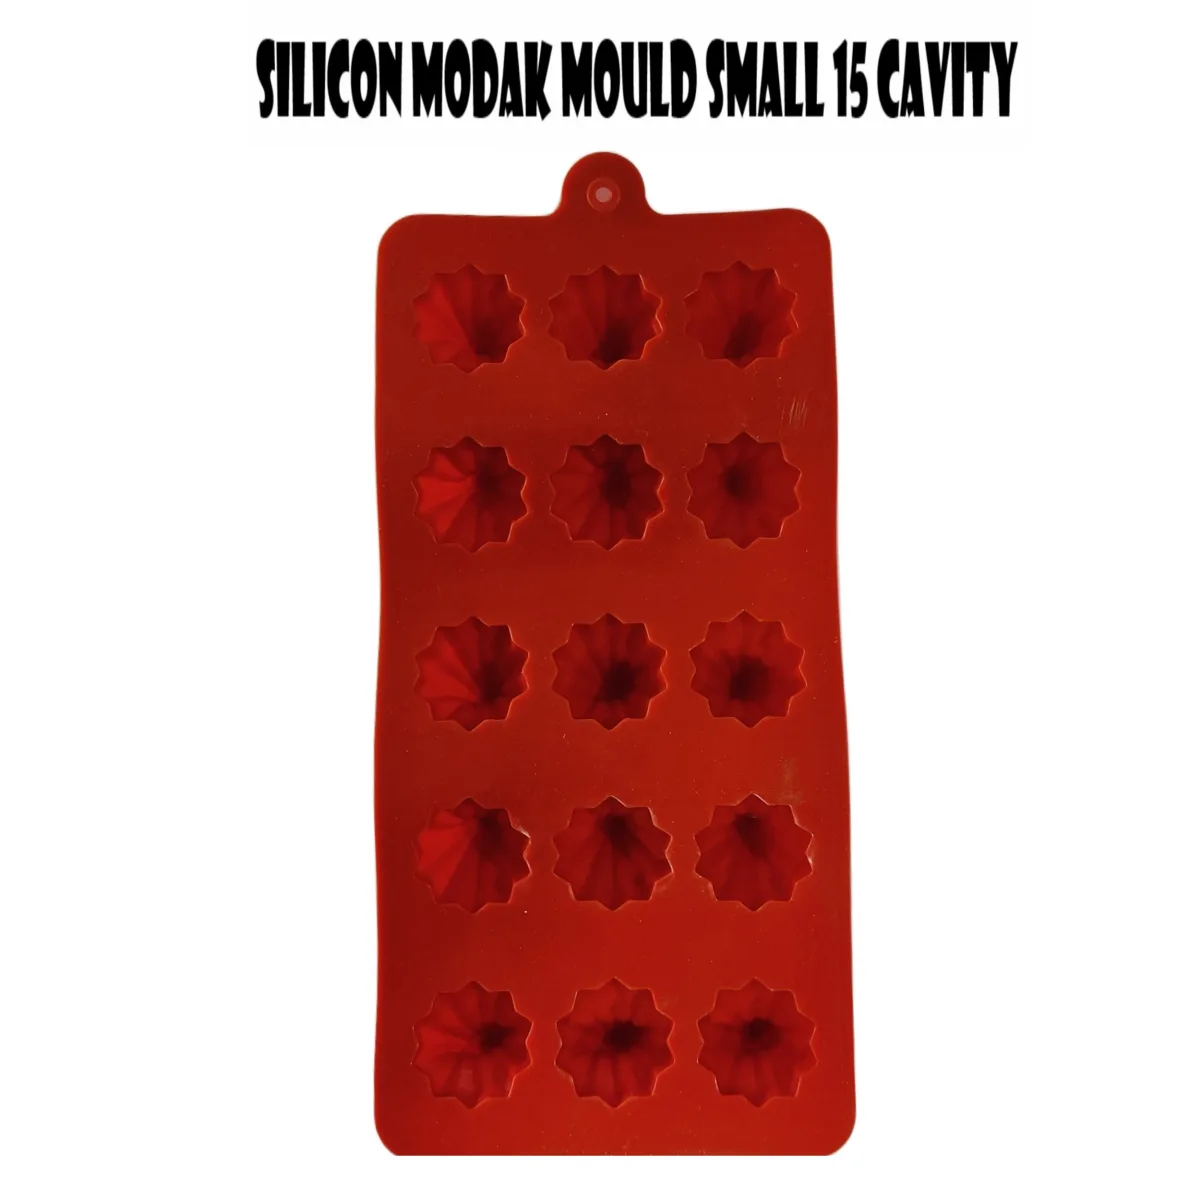
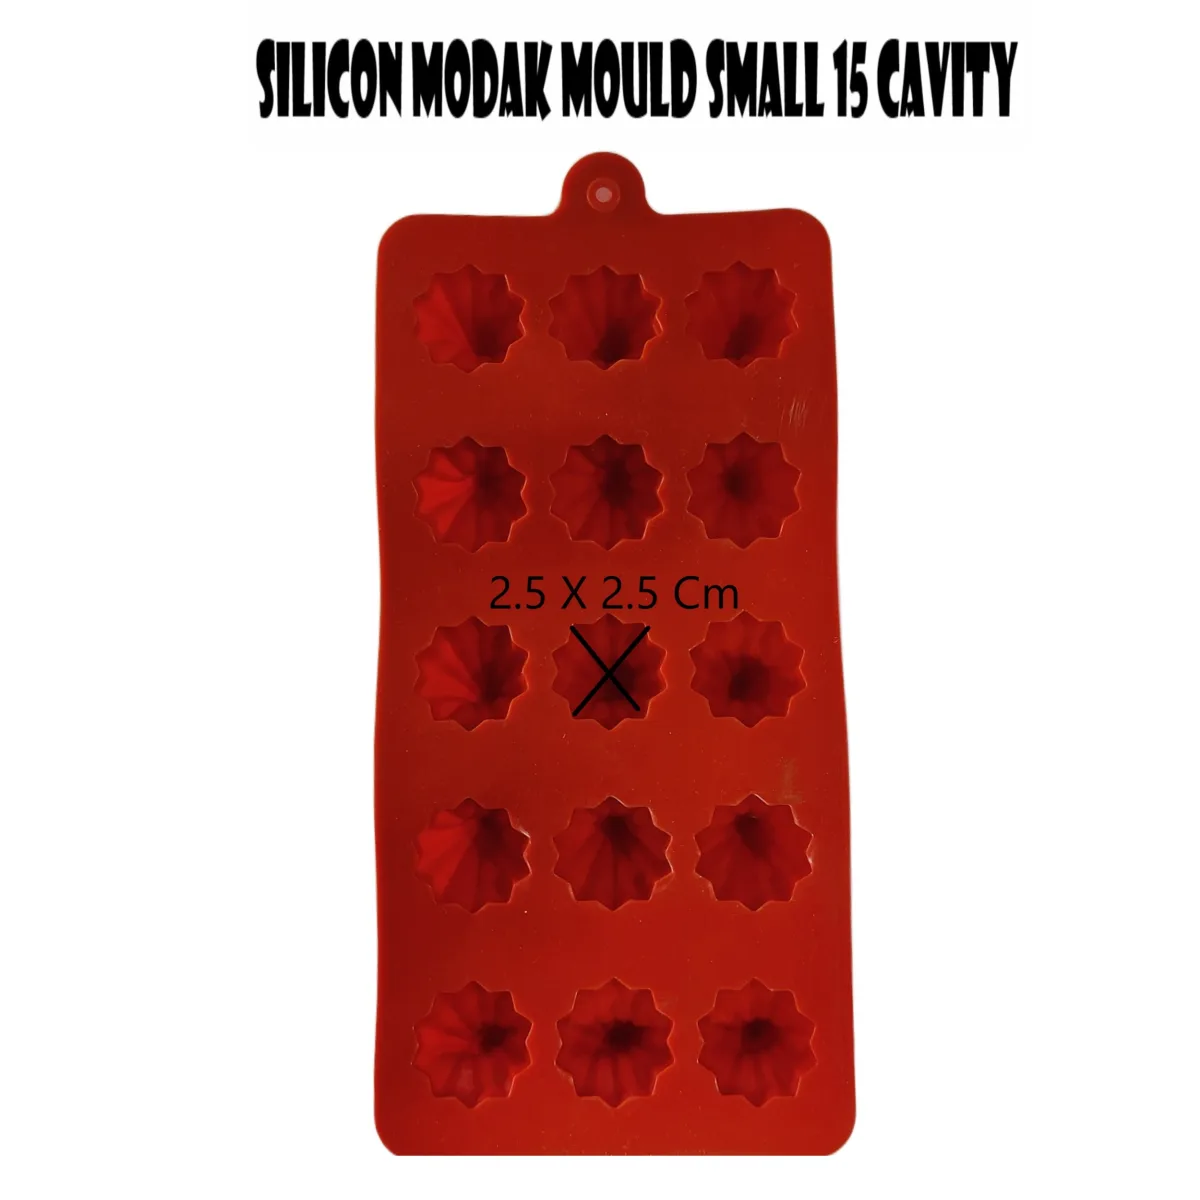
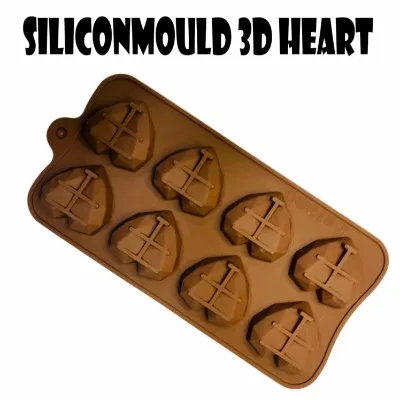
Using a silicone chocolate modak mold is quite similar to using any other silicone mold for chocolates or confections. Here's how you can use a silicone chocolate modak mold:
1. Prepare the Chocolate:
Melt chocolate of your choice (dark, milk, white, etc.) using a double boiler or a microwave. Be cautious not to overheat the chocolate, as it can become lumpy or burnt.
Stir the melted chocolate until smooth and glossy. You can also add a small amount of vegetable oil or cocoa butter to help with the consistency.
2.Prepare the Mold:
Ensure that your silicone modak mold is clean and dry.
If your mold has multiple cavities, you might want to place it on a flat tray or baking sheet to make it easier to move without spilling the chocolate.
Fill the Mold:
3.Using a spoon or a pastry brush, carefully fill each cavity of the mold with melted chocolate. Fill each cavity to the top but avoid overfilling, as excess chocolate can spill and make it difficult to close the mold.
4. Tap and Settle:
Gently tap the mold against the countertop to eliminate any air bubbles and ensure the chocolate settles evenly in the mold.
5. Create a Hollow Space:
If your modak mold has a three-dimensional design (like a traditional modak shape), you might need to create a hollow space for the filling. Use the back of a spoon to push the chocolate gently against the sides of the mold, creating a cavity in the center.
6. Add Filling (Optional):
If you want to add a filling, such as a caramel center or nutty filling, do so at this point. Make sure not to overfill, as you'll need space to seal the modak.
7. Seal the Modak:
Once the filling is in place, cover the filling with more melted chocolate, ensuring it's level with the top of the mold's cavities. This seals the modak.
8. Chill and Set:
Place the mold in the refrigerator or a cool area to allow the chocolate to set. This usually takes about 1-2 hours.
9. Unmold the Chocolates:
Once the chocolate is fully set, gently flex the silicone mold to release the chocolates. If the mold was properly prepared and the chocolate is fully set, the chocolates should release easily.
10. Serve and Store:
Carefully arrange the chocolate modaks on a plate or in a box.
If not consuming immediately, store the chocolates in a cool, dry place or the refrigerator, depending on the temperature and humidity.
Remember, using a silicone chocolate modak mold can be a creative way to make festive and flavorful chocolate treats. Feel free to experiment with different types of chocolate, fillings, and decorations to make your chocolate modaks unique and delicious.

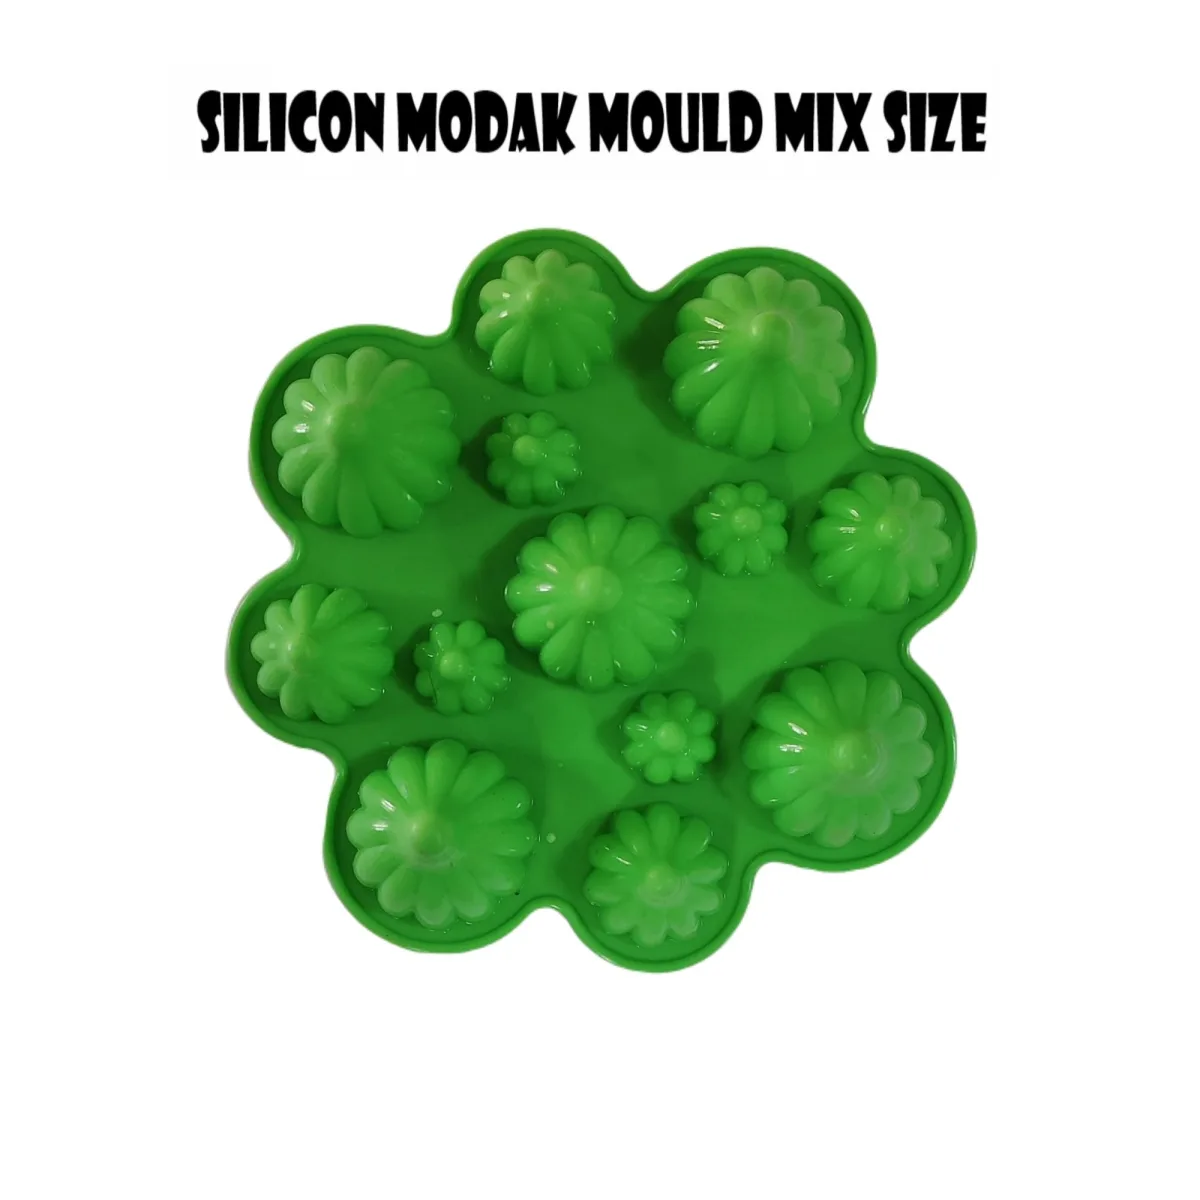






 47%