
₹460
Cake Cup Wati
47 products
₹90
23% OFF
₹17 ₹22
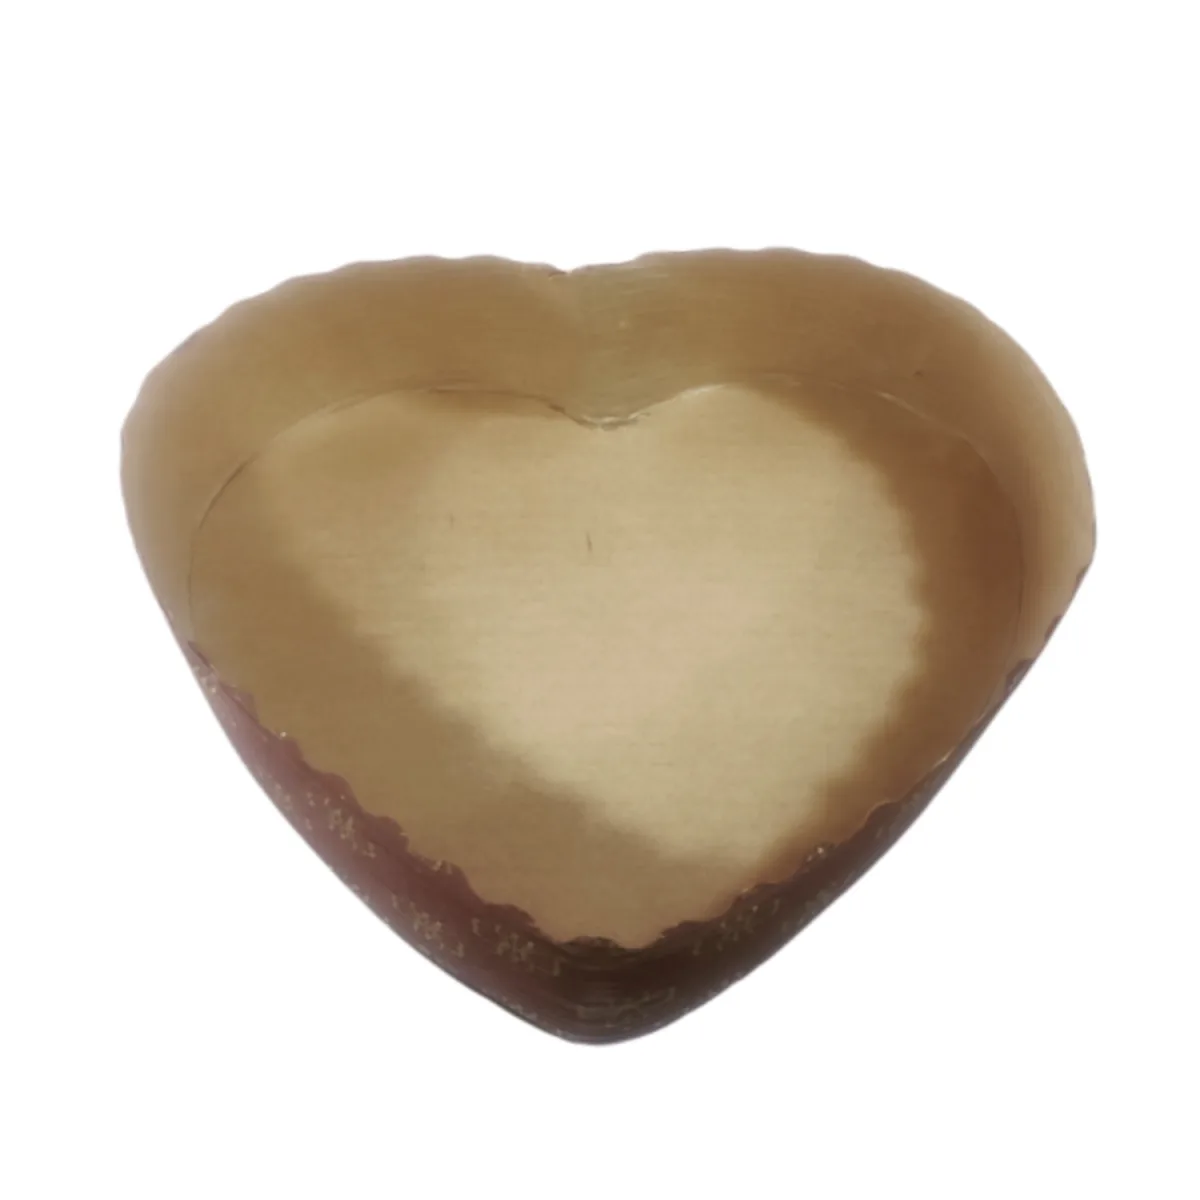
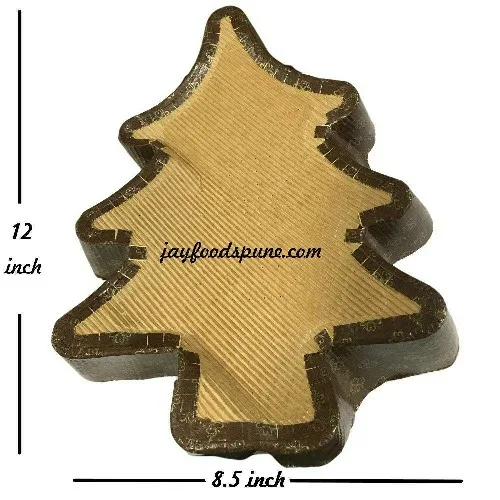
Plum Cake Heart Paper Mould Small For Bread And Cakes Available size Small & Big A plum cake paper mould is a convenient and disposable baking container made of paper, designed for making plum cakes, as well as other types of breads and cakes. Here are some steps on how to use a plum cake paper mould effectively: Preparation: Start by selecting a plum cake paper mould that is the appropriate size and shape for your recipe. Ensure it is in good condition and free from any tears or damage. Placing the Mould: Set the paper mould on a sturdy baking tray or sheet to provide support during baking. This will make it easier to handle and transport in and out of the oven. Greasing (Optional): While paper moulds are designed to be non-stick, it's still a good idea to lightly grease the inside of the mould with butter or a non-stick cooking spray. This can help ensure easy removal of the cake after baking. Filling the Mould: Pour the prepared cake batter into the paper mould. Leave some space at the top to allow for the cake to rise while baking. Avoid overfilling, as this can lead to uneven baking and potential spillage. Baking: Preheat your oven to the temperature specified in your recipe. Place the filled paper mould on the baking tray in the center of the oven. Make sure there's enough space around the mould for proper air circulation. Monitoring the Baking Process: Keep an eye on the cake as it bakes. Use a toothpick or a cake tester to check for doneness. Insert it into the center of the cake; if it comes out clean or with a few moist crumbs, the cake is done. Cooling: Allow the cake to cool in the paper mould for a few minutes after removing it from the oven. Then, carefully transfer it to a wire rack to cool completely. Removing the Cake: Because the mould is made of paper, it should be easy to tear away from the sides of the cake. Gently pull down on the paper to release the cake. If there are any stubborn areas, you can use a knife to carefully separate the paper from the cake. Cleaning and Disposal: Since the paper mould is disposable, there's no need to clean it. Simply discard it after use.
₹30
₹30
23% OFF
₹17 ₹22
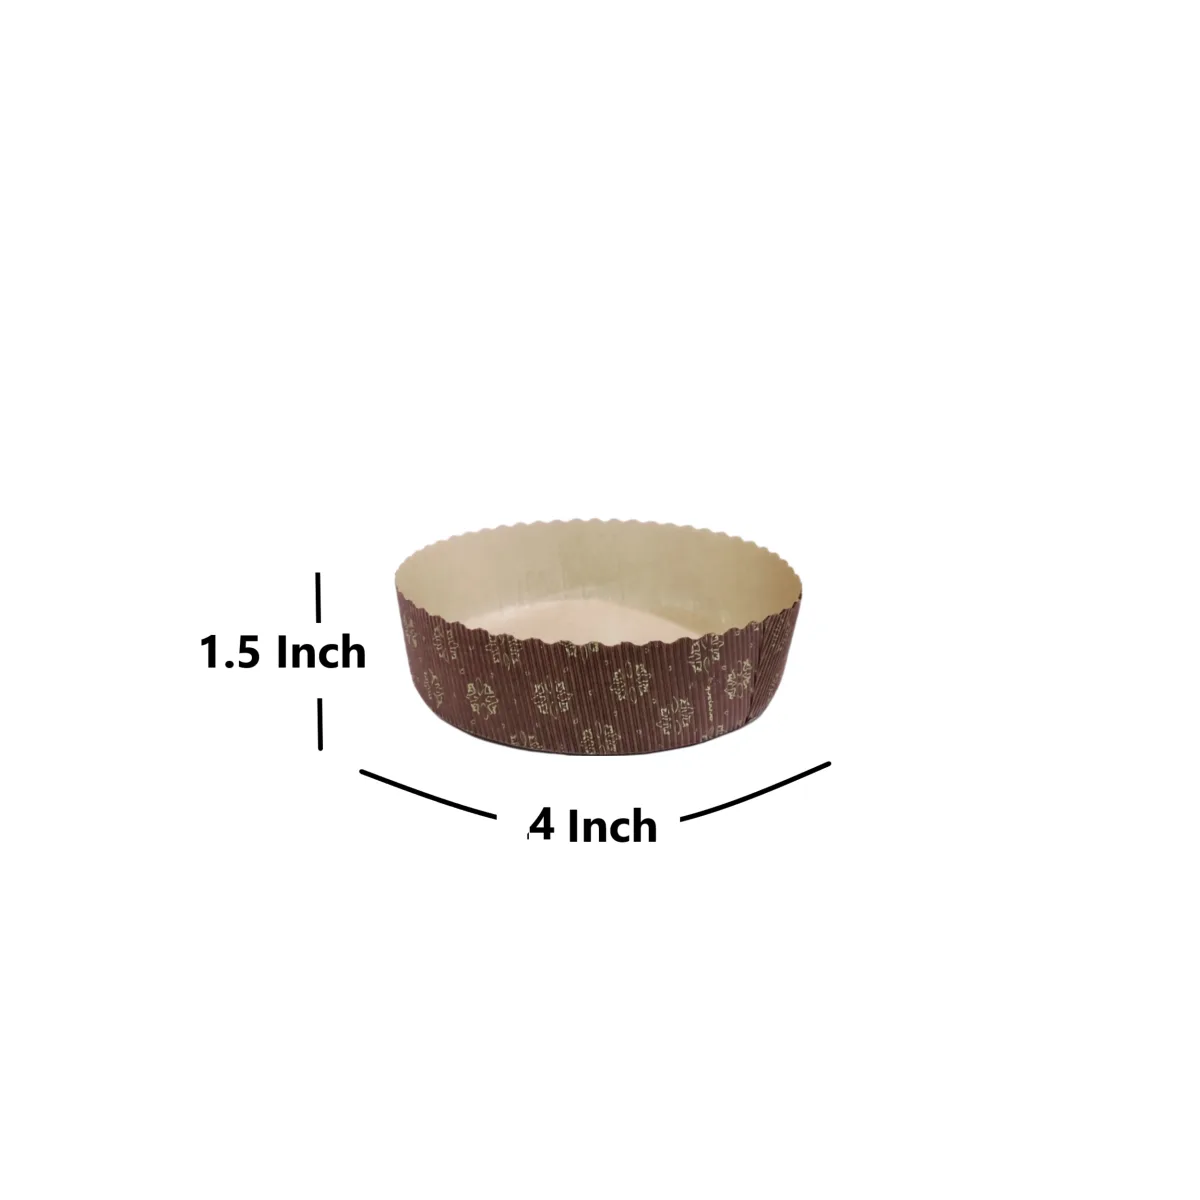
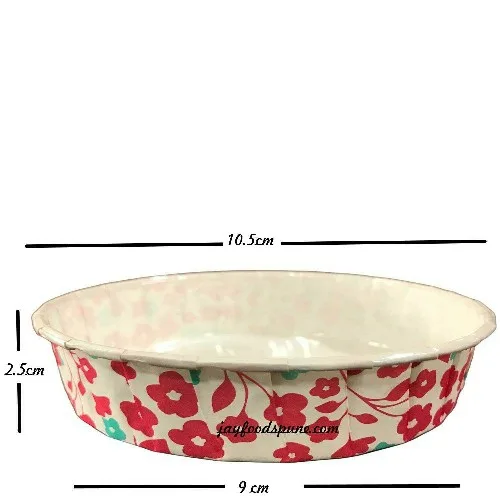
Plum Cake Round Paper Mould Small For Bread And Cakes Available size Small Big Midium A plum cake paper mould is a convenient and disposable baking container made of paper, designed for making plum cakes, as well as other types of breads and cakes. Here are some steps on how to use a plum cake paper mould effectively: Preparation: Start by selecting a plum cake paper mould that is the appropriate size and shape for your recipe. Ensure it is in good condition and free from any tears or damage. Placing the Mould: Set the paper mould on a sturdy baking tray or sheet to provide support during baking. This will make it easier to handle and transport in and out of the oven. Greasing (Optional): While paper moulds are designed to be non-stick, it's still a good idea to lightly grease the inside of the mould with butter or a non-stick cooking spray. This can help ensure easy removal of the cake after baking. Filling the Mould: Pour the prepared cake batter into the paper mould. Leave some space at the top to allow for the cake to rise while baking. Avoid overfilling, as this can lead to uneven baking and potential spillage. Baking: Preheat your oven to the temperature specified in your recipe. Place the filled paper mould on the baking tray in the center of the oven. Make sure there's enough space around the mould for proper air circulation. Monitoring the Baking Process: Keep an eye on the cake as it bakes. Use a toothpick or a cake tester to check for doneness. Insert it into the center of the cake; if it comes out clean or with a few moist crumbs, the cake is done. Cooling: Allow the cake to cool in the paper mould for a few minutes after removing it from the oven. Then, carefully transfer it to a wire rack to cool completely. Removing the Cake: Because the mould is made of paper, it should be easy to tear away from the sides of the cake. Gently pull down on the paper to release the cake. If there are any stubborn areas, you can use a knife to carefully separate the paper from the cake. Cleaning and Disposal: Since the paper mould is disposable, there's no need to clean it. Simply discard it after use.
₹230
₹340
₹480
₹110
₹110
₹320
₹80
₹370
₹12
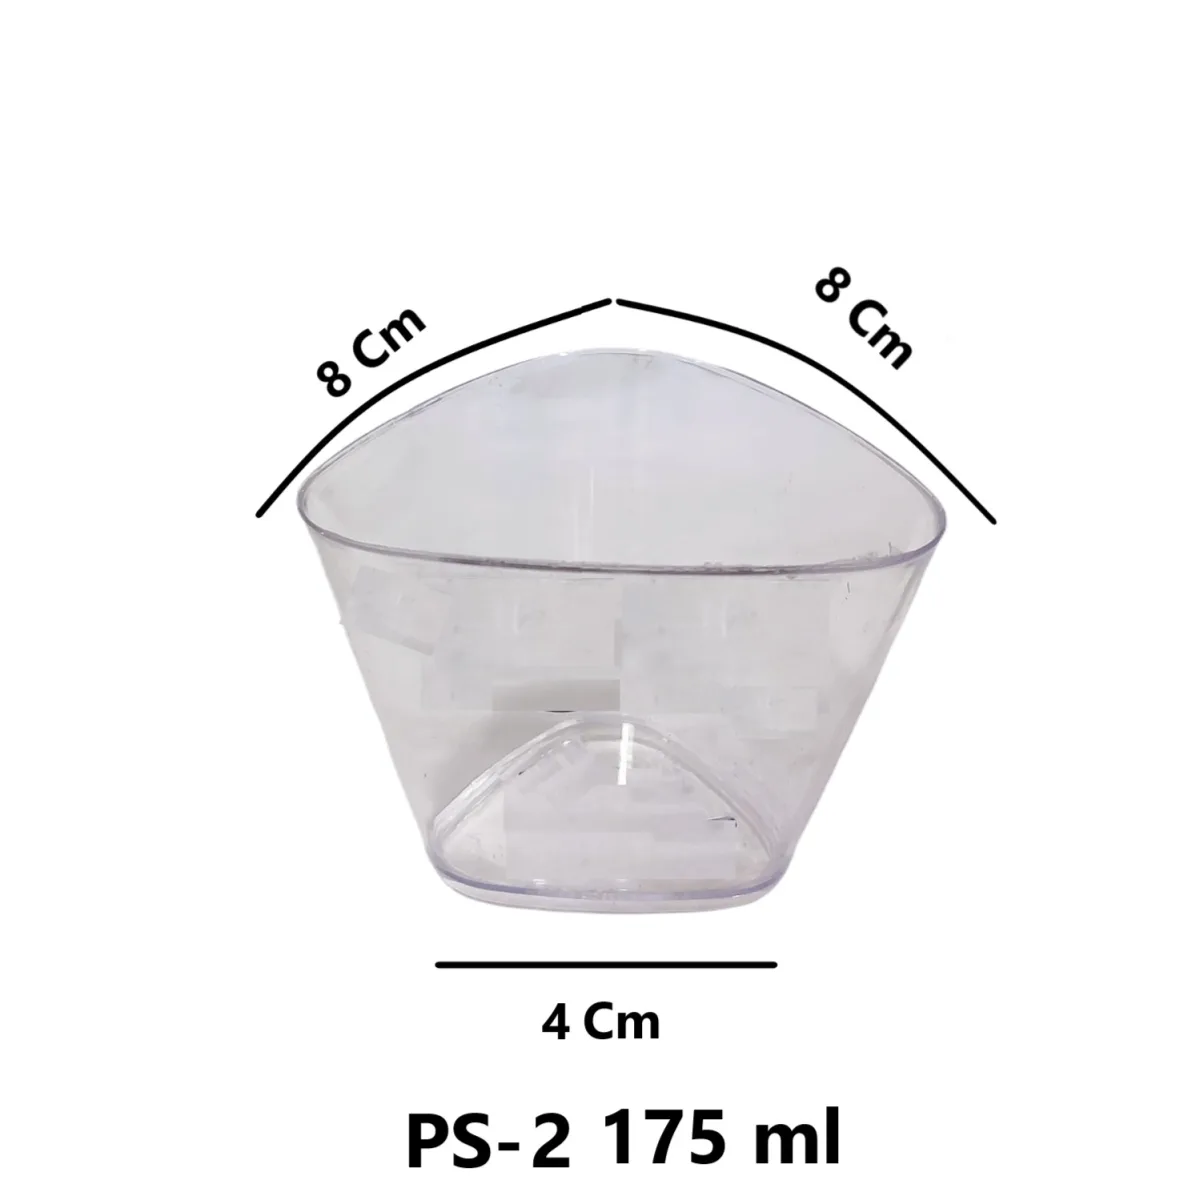
Pipl Ps2 Triangle Big Cup 175ml We Have An Exclusive Range Of Pipl Ps Products Especially For Sweets And Mousse These Pipl Ps Products Are Heavy In Terms Of Quality As Well As Elegant And Attractive For Serving.
₹5
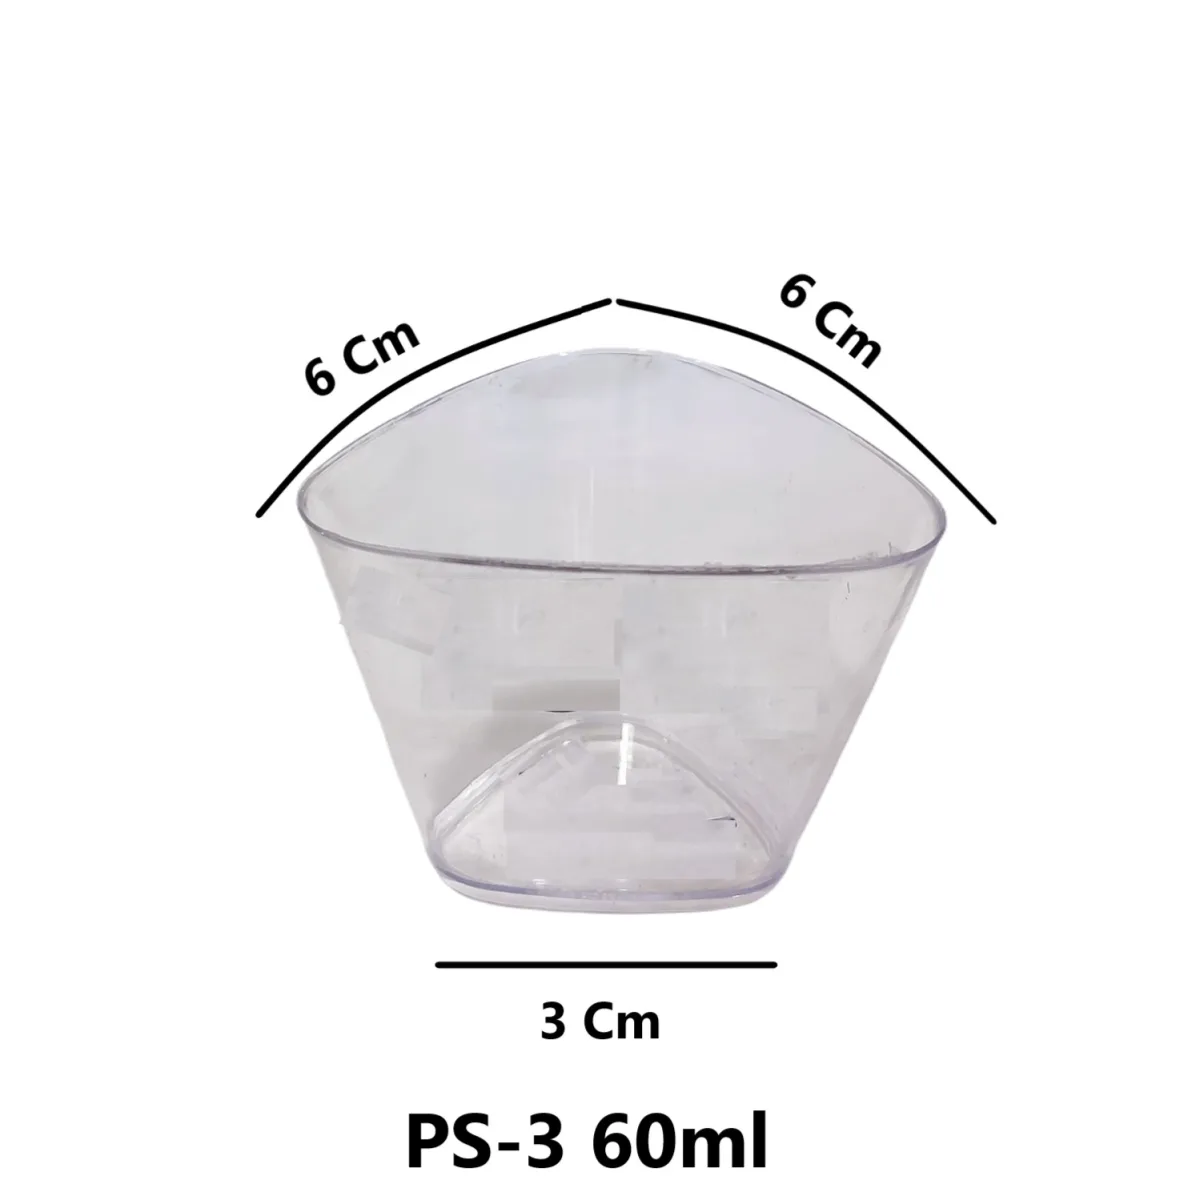
Pipl Ps3 Triangle Cup 60ml We Have An Exclusive Range Of Pipl Ps Products Especially For Sweets And Mousse These Pipl Ps Products Are Heavy In Terms Of Quality As Well As Elegant And Attractive For Serving.
₹7
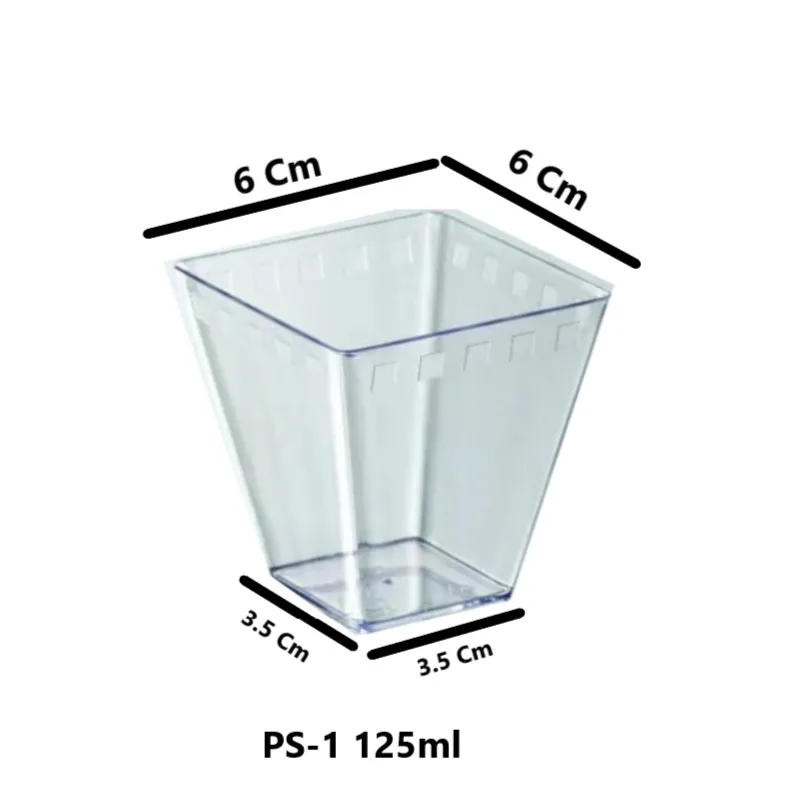
Pipl Ps1 Squire Cup 125ml We Have An Exclusive Range Of Pipl Ps Products Especially For Sweets And Mousse These Pipl Ps Products Are Heavy In Terms Of Quality As Well As Elegant And Attractive For Serving.
₹5
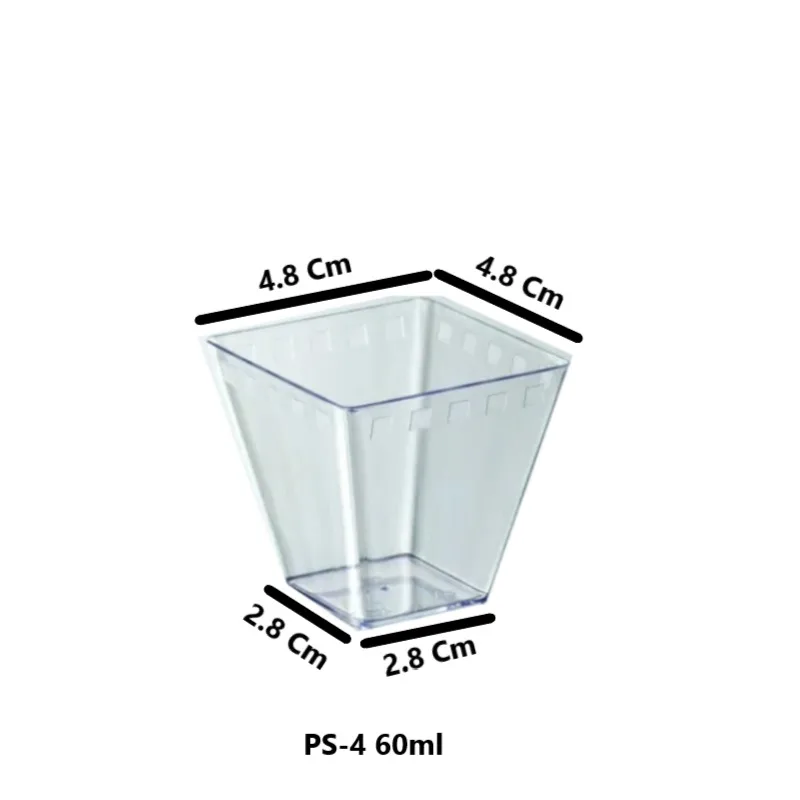
Pipl Ps-4 Squire Cup 125ml We Have An Exclusive Range Of Pipl Ps Products Especially For Sweets And Mousse These Pipl Ps Products Are Heavy In Terms Of Quality As Well As Elegant And Attractive For Serving.
₹11
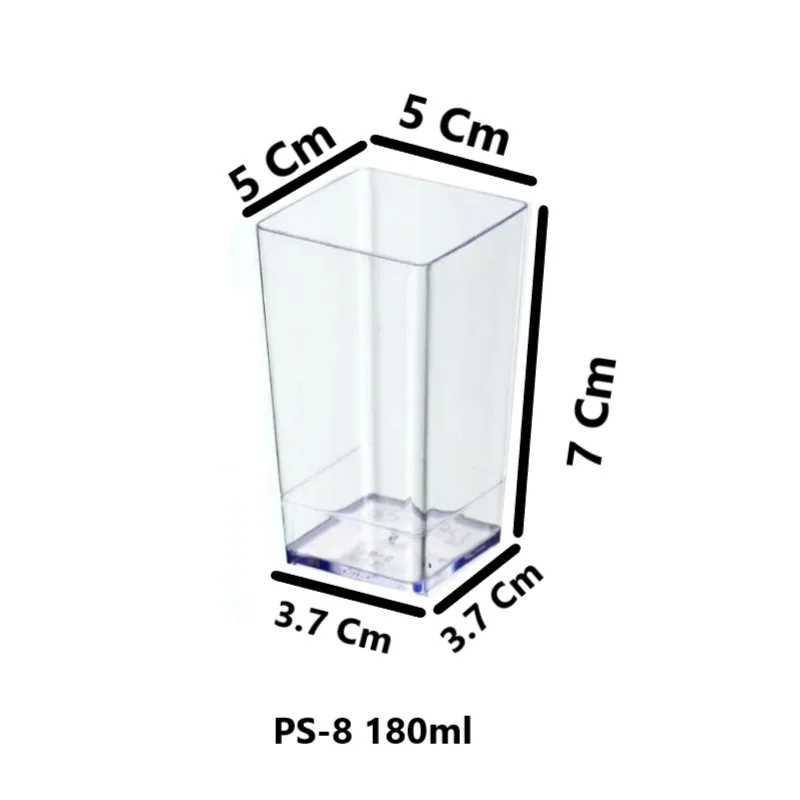
Pipl Ps8 Cup 120ml We Have An Exclusive Range Of Pipl Ps Products Especially For Sweets And Mousse These Pipl Ps Products Are Heavy In Terms Of Quality As Well As Elegant And Attractive For Serving.
20% OFF
₹20 ₹25
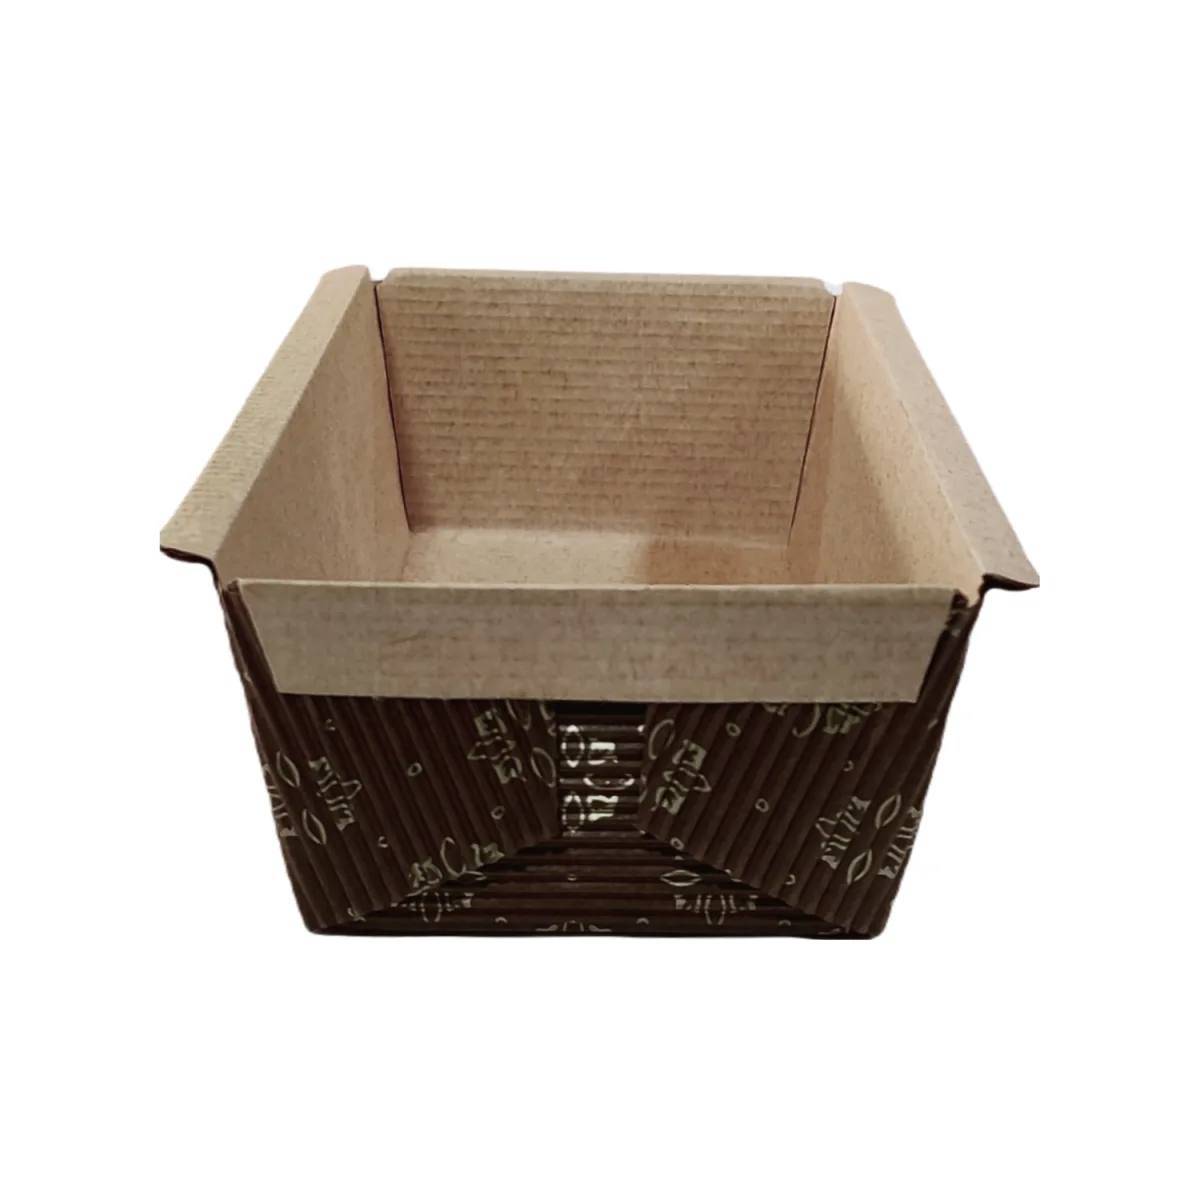
Plum Cake Rectangle Paper Mould For Bread And Cakes Available in Pm150, Pm200, Pm250 A plum cake paper mould is a convenient and disposable baking container made of paper, designed for making plum cakes, as well as other types of breads and cakes. Here are some steps on how to use a plum cake paper mould effectively: Preparation: Start by selecting a plum cake paper mould that is the appropriate size and shape for your recipe. Ensure it is in good condition and free from any tears or damage. Placing the Mould: Set the paper mould on a sturdy baking tray or sheet to provide support during baking. This will make it easier to handle and transport in and out of the oven. Greasing (Optional): While paper moulds are designed to be non-stick, it's still a good idea to lightly grease the inside of the mould with butter or a non-stick cooking spray. This can help ensure easy removal of the cake after baking. Filling the Mould: Pour the prepared cake batter into the paper mould. Leave some space at the top to allow for the cake to rise while baking. Avoid overfilling, as this can lead to uneven baking and potential spillage. Baking: Preheat your oven to the temperature specified in your recipe. Place the filled paper mould on the baking tray in the center of the oven. Make sure there's enough space around the mould for proper air circulation. Monitoring the Baking Process: Keep an eye on the cake as it bakes. Use a toothpick or a cake tester to check for doneness. Insert it into the center of the cake; if it comes out clean or with a few moist crumbs, the cake is done. Cooling: Allow the cake to cool in the paper mould for a few minutes after removing it from the oven. Then, carefully transfer it to a wire rack to cool completely. Removing the Cake: Because the mould is made of paper, it should be easy to tear away from the sides of the cake. Gently pull down on the paper to release the cake. If there are any stubborn areas, you can use a knife to carefully separate the paper from the cake. Cleaning and Disposal: Since the paper mould is disposable, there's no need to clean it. Simply discard it after use.
25% OFF
₹15 ₹20
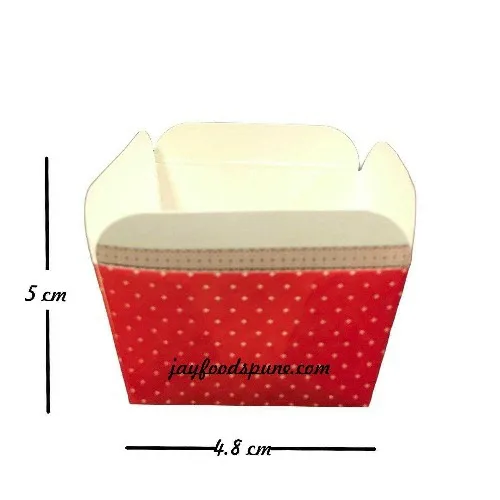
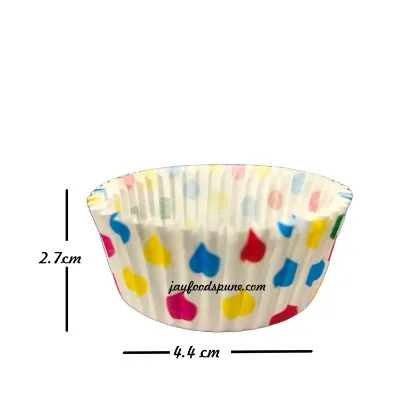
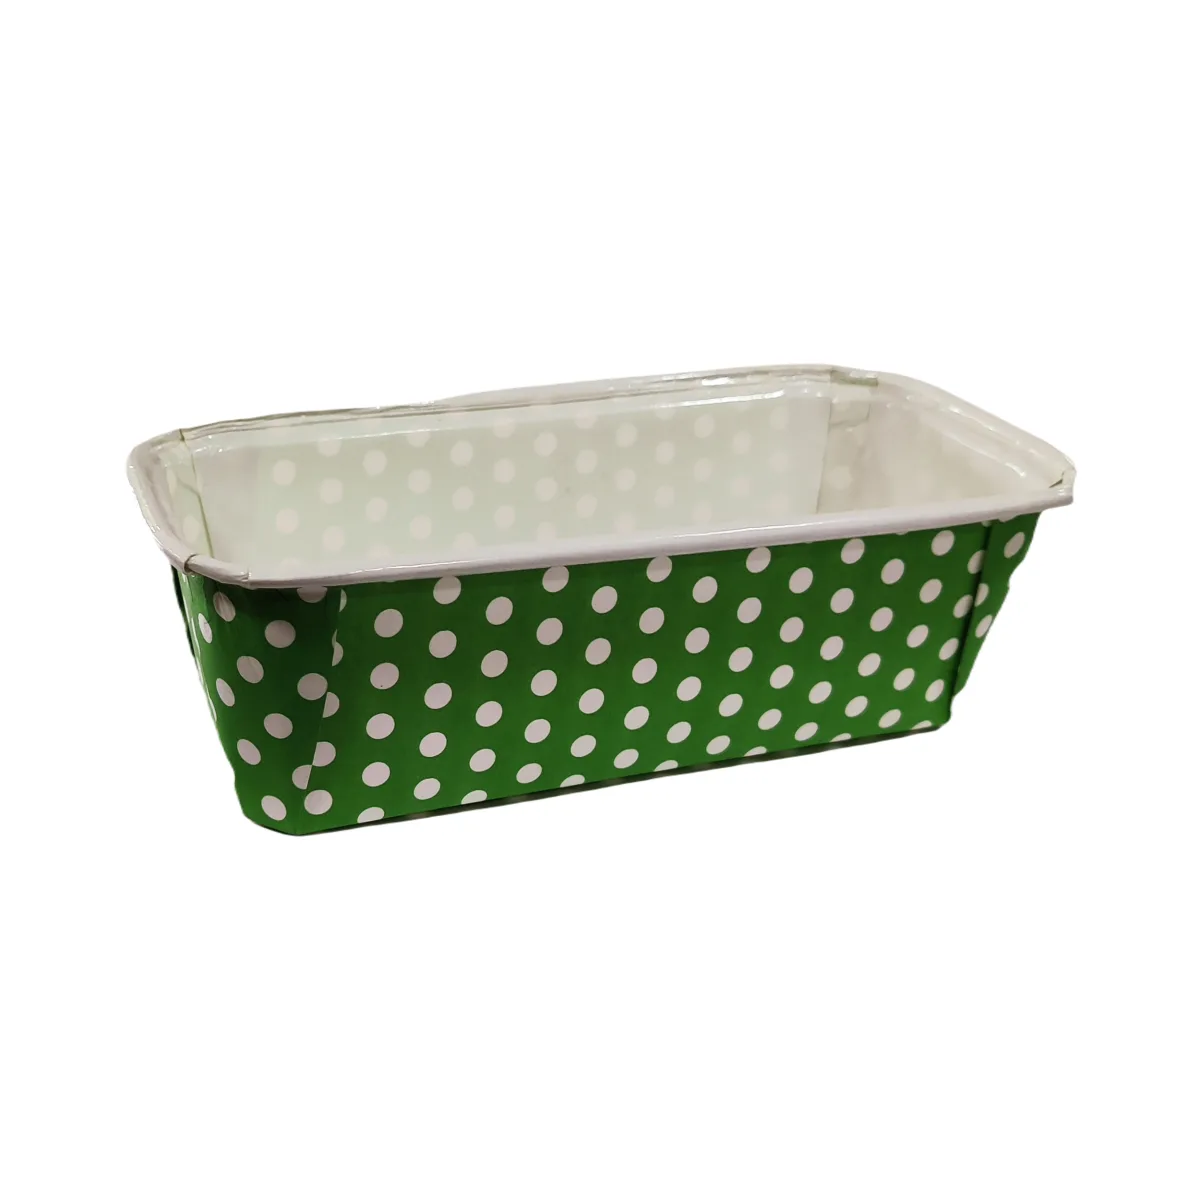
Plum Cake Paper Mould Plumpy Dotted For Bread And Cakes Available In Different Colours A plum cake paper mould is a convenient and disposable baking container made of paper, designed for making plum cakes, as well as other types of breads and cakes. Here are some steps on how to use a plum cake paper mould effectively: Preparation: Start by selecting a plum cake paper mould that is the appropriate size and shape for your recipe. Ensure it is in good condition and free from any tears or damage. Placing the Mould: Set the paper mould on a sturdy baking tray or sheet to provide support during baking. This will make it easier to handle and transport in and out of the oven. Greasing (Optional): While paper moulds are designed to be non-stick, it's still a good idea to lightly grease the inside of the mould with butter or a non-stick cooking spray. This can help ensure easy removal of the cake after baking. Filling the Mould: Pour the prepared cake batter into the paper mould. Leave some space at the top to allow for the cake to rise while baking. Avoid overfilling, as this can lead to uneven baking and potential spillage. Baking: Preheat your oven to the temperature specified in your recipe. Place the filled paper mould on the baking tray in the center of the oven. Make sure there's enough space around the mould for proper air circulation. Monitoring the Baking Process: Keep an eye on the cake as it bakes. Use a toothpick or a cake tester to check for doneness. Insert it into the center of the cake; if it comes out clean or with a few moist crumbs, the cake is done. Cooling: Allow the cake to cool in the paper mould for a few minutes after removing it from the oven. Then, carefully transfer it to a wire rack to cool completely. Removing the Cake: Because the mould is made of paper, it should be easy to tear away from the sides of the cake. Gently pull down on the paper to release the cake. If there are any stubborn areas, you can use a knife to carefully separate the paper from the cake. Cleaning and Disposal: Since the paper mould is disposable, there's no need to clean it. Simply discard it after use.
18% OFF
₹18 ₹22
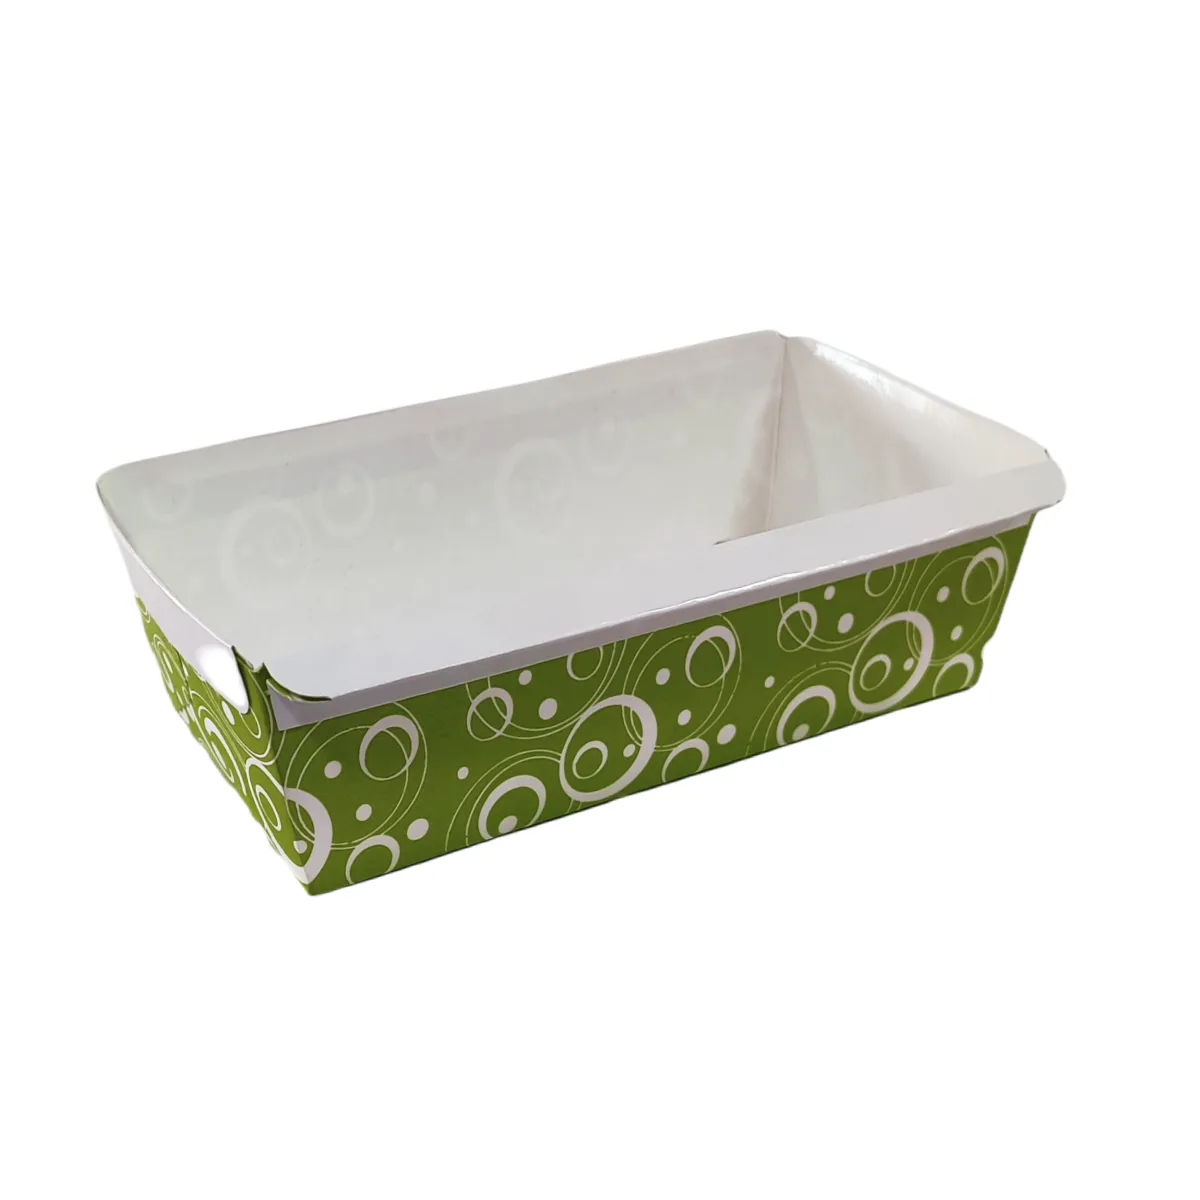
Plum Cake Paper Mould Op152 For Bread And Cakes A plum cake paper mould is a convenient and disposable baking container made of paper, designed for making plum cakes, as well as other types of breads and cakes. Here are some steps on how to use a plum cake paper mould effectively: Preparation: Start by selecting a plum cake paper mould that is the appropriate size and shape for your recipe. Ensure it is in good condition and free from any tears or damage. Placing the Mould: Set the paper mould on a sturdy baking tray or sheet to provide support during baking. This will make it easier to handle and transport in and out of the oven. Greasing (Optional): While paper moulds are designed to be non-stick, it's still a good idea to lightly grease the inside of the mould with butter or a non-stick cooking spray. This can help ensure easy removal of the cake after baking. Filling the Mould: Pour the prepared cake batter into the paper mould. Leave some space at the top to allow for the cake to rise while baking. Avoid overfilling, as this can lead to uneven baking and potential spillage. Baking: Preheat your oven to the temperature specified in your recipe. Place the filled paper mould on the baking tray in the center of the oven. Make sure there's enough space around the mould for proper air circulation. Monitoring the Baking Process: Keep an eye on the cake as it bakes. Use a toothpick or a cake tester to check for doneness. Insert it into the center of the cake; if it comes out clean or with a few moist crumbs, the cake is done. Cooling: Allow the cake to cool in the paper mould for a few minutes after removing it from the oven. Then, carefully transfer it to a wire rack to cool completely. Removing the Cake: Because the mould is made of paper, it should be easy to tear away from the sides of the cake. Gently pull down on the paper to release the cake. If there are any stubborn areas, you can use a knife to carefully separate the paper from the cake. Cleaning and Disposal: Since the paper mould is disposable, there's no need to clean it. Simply discard it after use.
22% OFF
₹7 ₹9
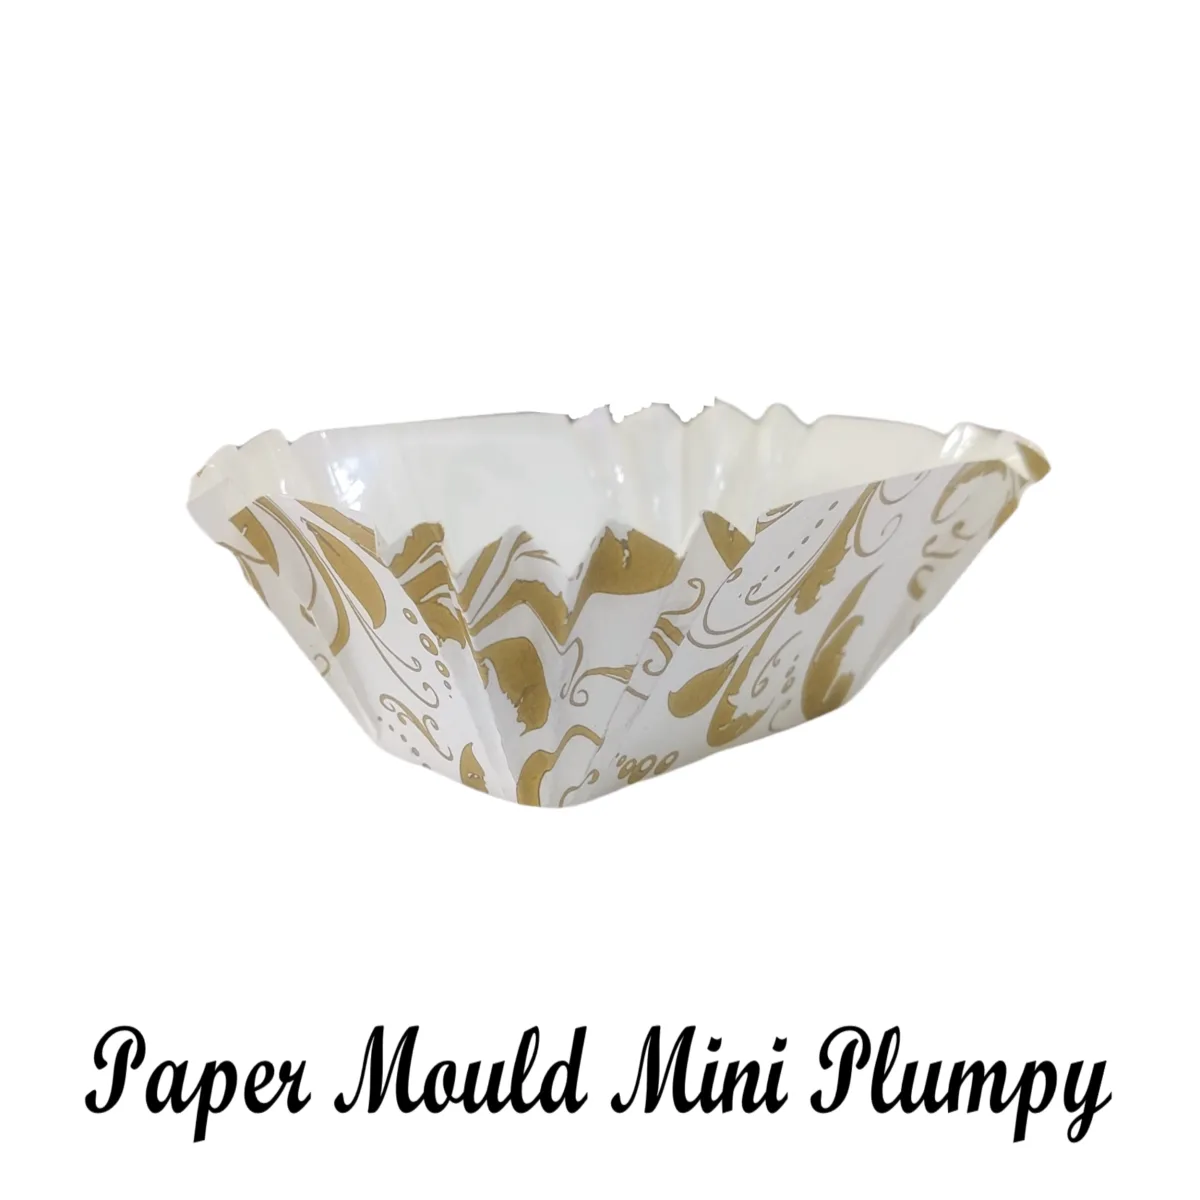
Plum Cake Paper Mould Mini Plumpy For Cakes A plum cake paper mould Mini Plumpy is a convenient and disposable baking container made of paper, designed for making plum cakes, as well as other types of breads and cakes. Here are some steps on how to use a plum cake paper mould effectively: Preparation: Start by selecting a plum cake paper mould that is the appropriate size and shape for your recipe. Ensure it is in good condition and free from any tears or damage. Placing the Mould: Set the paper mould on a sturdy baking tray or sheet to provide support during baking. This will make it easier to handle and transport in and out of the oven. Greasing (Optional): While paper moulds are designed to be non-stick, it's still a good idea to lightly grease the inside of the mould with butter or a non-stick cooking spray. This can help ensure easy removal of the cake after baking. Filling the Mould: Pour the prepared cake batter into the paper mould. Leave some space at the top to allow for the cake to rise while baking. Avoid overfilling, as this can lead to uneven baking and potential spillage. Baking: Preheat your oven to the temperature specified in your recipe. Place the filled paper mould on the baking tray in the center of the oven. Make sure there's enough space around the mould for proper air circulation. Monitoring the Baking Process: Keep an eye on the cake as it bakes. Use a toothpick or a cake tester to check for doneness. Insert it into the center of the cake; if it comes out clean or with a few moist crumbs, the cake is done. Cooling: Allow the cake to cool in the paper mould for a few minutes after removing it from the oven. Then, carefully transfer it to a wire rack to cool completely. Removing the Cake: Because the mould is made of paper, it should be easy to tear away from the sides of the cake. Gently pull down on the paper to release the cake. If there are any stubborn areas, you can use a knife to carefully separate the paper from the cake. Cleaning and Disposal: Since the paper mould is disposable, there's no need to clean it. Simply discard it after use.
15% OFF
₹320 ₹375
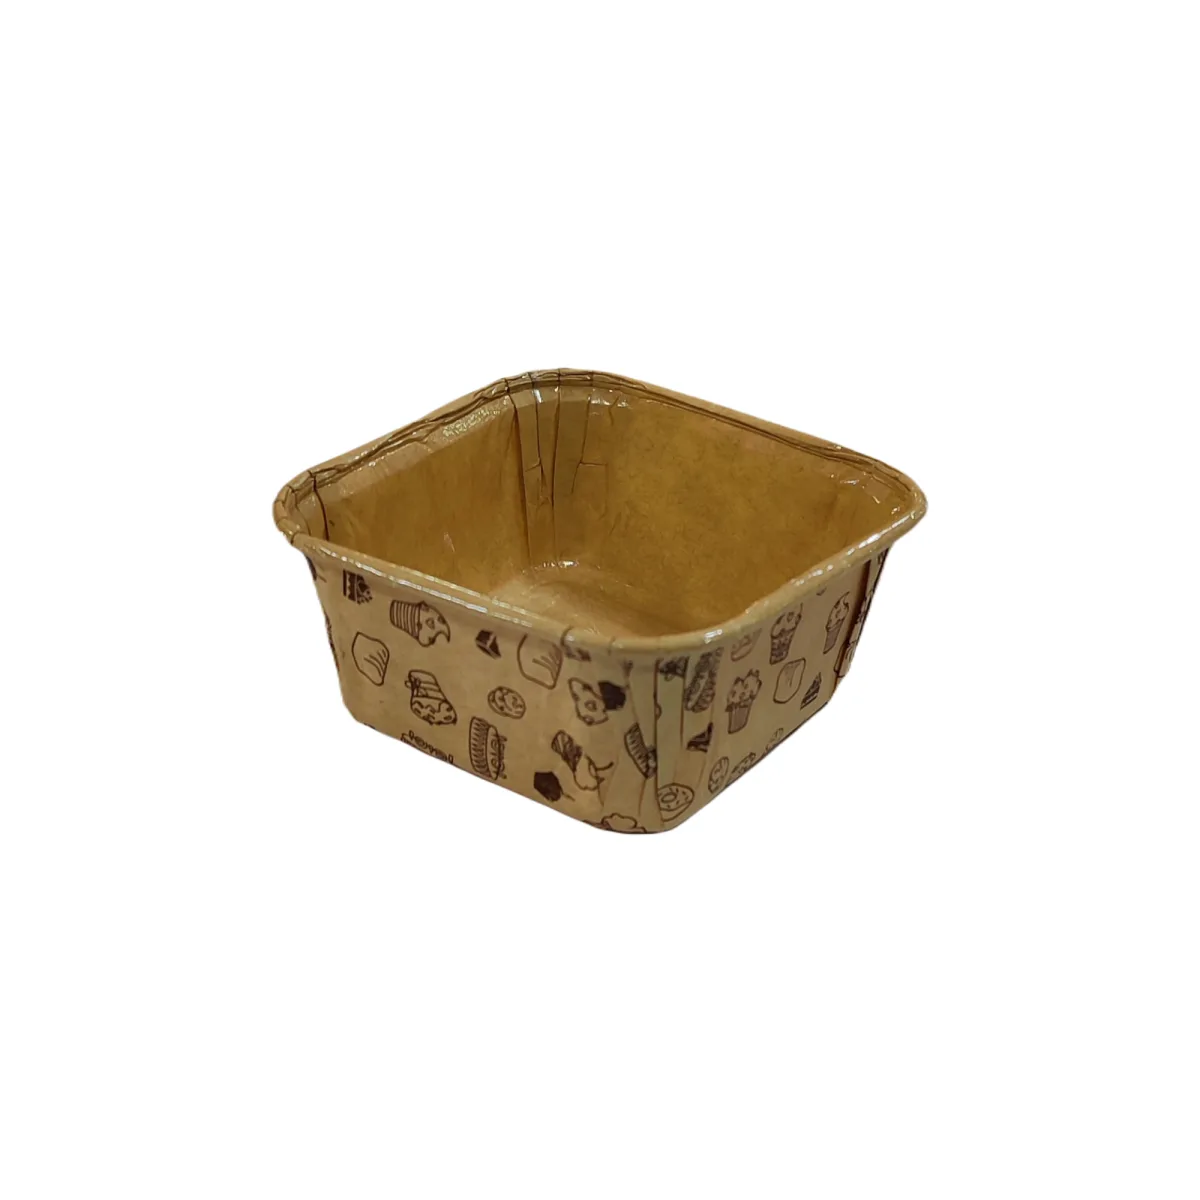
Brownie Baking Paper Cups Squire 3x3 Inch 50Pcs. Brownie Baking Paper Cups: Brownie baking paper cups are often used as liners for baking brownies. These cups are convenient because they eliminate the need for greasing the baking pan, and they make it easier to remove the brownies once they're baked. To use them: * Place the paper cups in the cavities of a muffin tin or on a baking sheet. * Fill each cup with brownie batter, leaving some space at the top to allow for rising during baking. * Bake the brownies according to the recipe instructions. When the brownies are done, you can simply lift them out of the cups, and they should easily release without sticking. Square Usage for Brownies: If you meant square-shaped brownies, the process is straightforward: * Prepare your brownie batter according to the recipe. * Grease and flour a square baking pan or line it with parchment paper. * Pour the brownie batter into the prepared pan, spreading it evenly. * Bake according to the recipe instructions. * Once baked and cooled, you can cut the brownies into square shapes using a * * knife or a square-shaped cookie cutter.